“Running out of bottled water reserves…” — In such a moment of crisis, these *household water purification techniques* could be your last resort.
You don’t need an expensive purifier — with a little creativity, you can make drinkable water. To help you stay calm in emergencies, here’s a summary of the essential tools and steps you should be prepared with.
1. Essential Items You Should Have – “3-Piece Kit”
① Water Container:
About a 15-liter bucket, or if unavailable, a pot, or an empty PET bottle (the larger, the better)
② Filtration Materials:
– Strainer
– Clean towel, gauze, t-shirt, kitchen paper, scarf, etc.
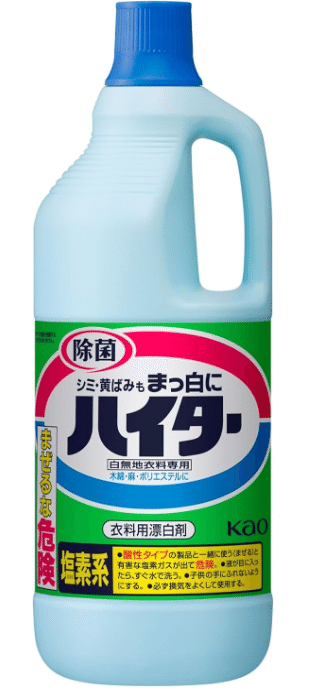
③ Disinfectant:
Chlorine bleach (e.g., laundry bleach like Haiter or generic brands). The simplest and cheapest laundry-grade bleach is ideal.
With just these, you can turn murky water into drinkable water
(Unopened bleach can typically be stored for about 3 years)
2. Making Safe Drinking Water – “3-Step Method”
STEP 1: Sedimentation
How: Fill a container with water and let it sit undisturbed for at least 3 hours. Carefully pour off only the clear top layer into a clean container.
Why: To separate heavy impurities like dirt and sand by letting them settle at the bottom.
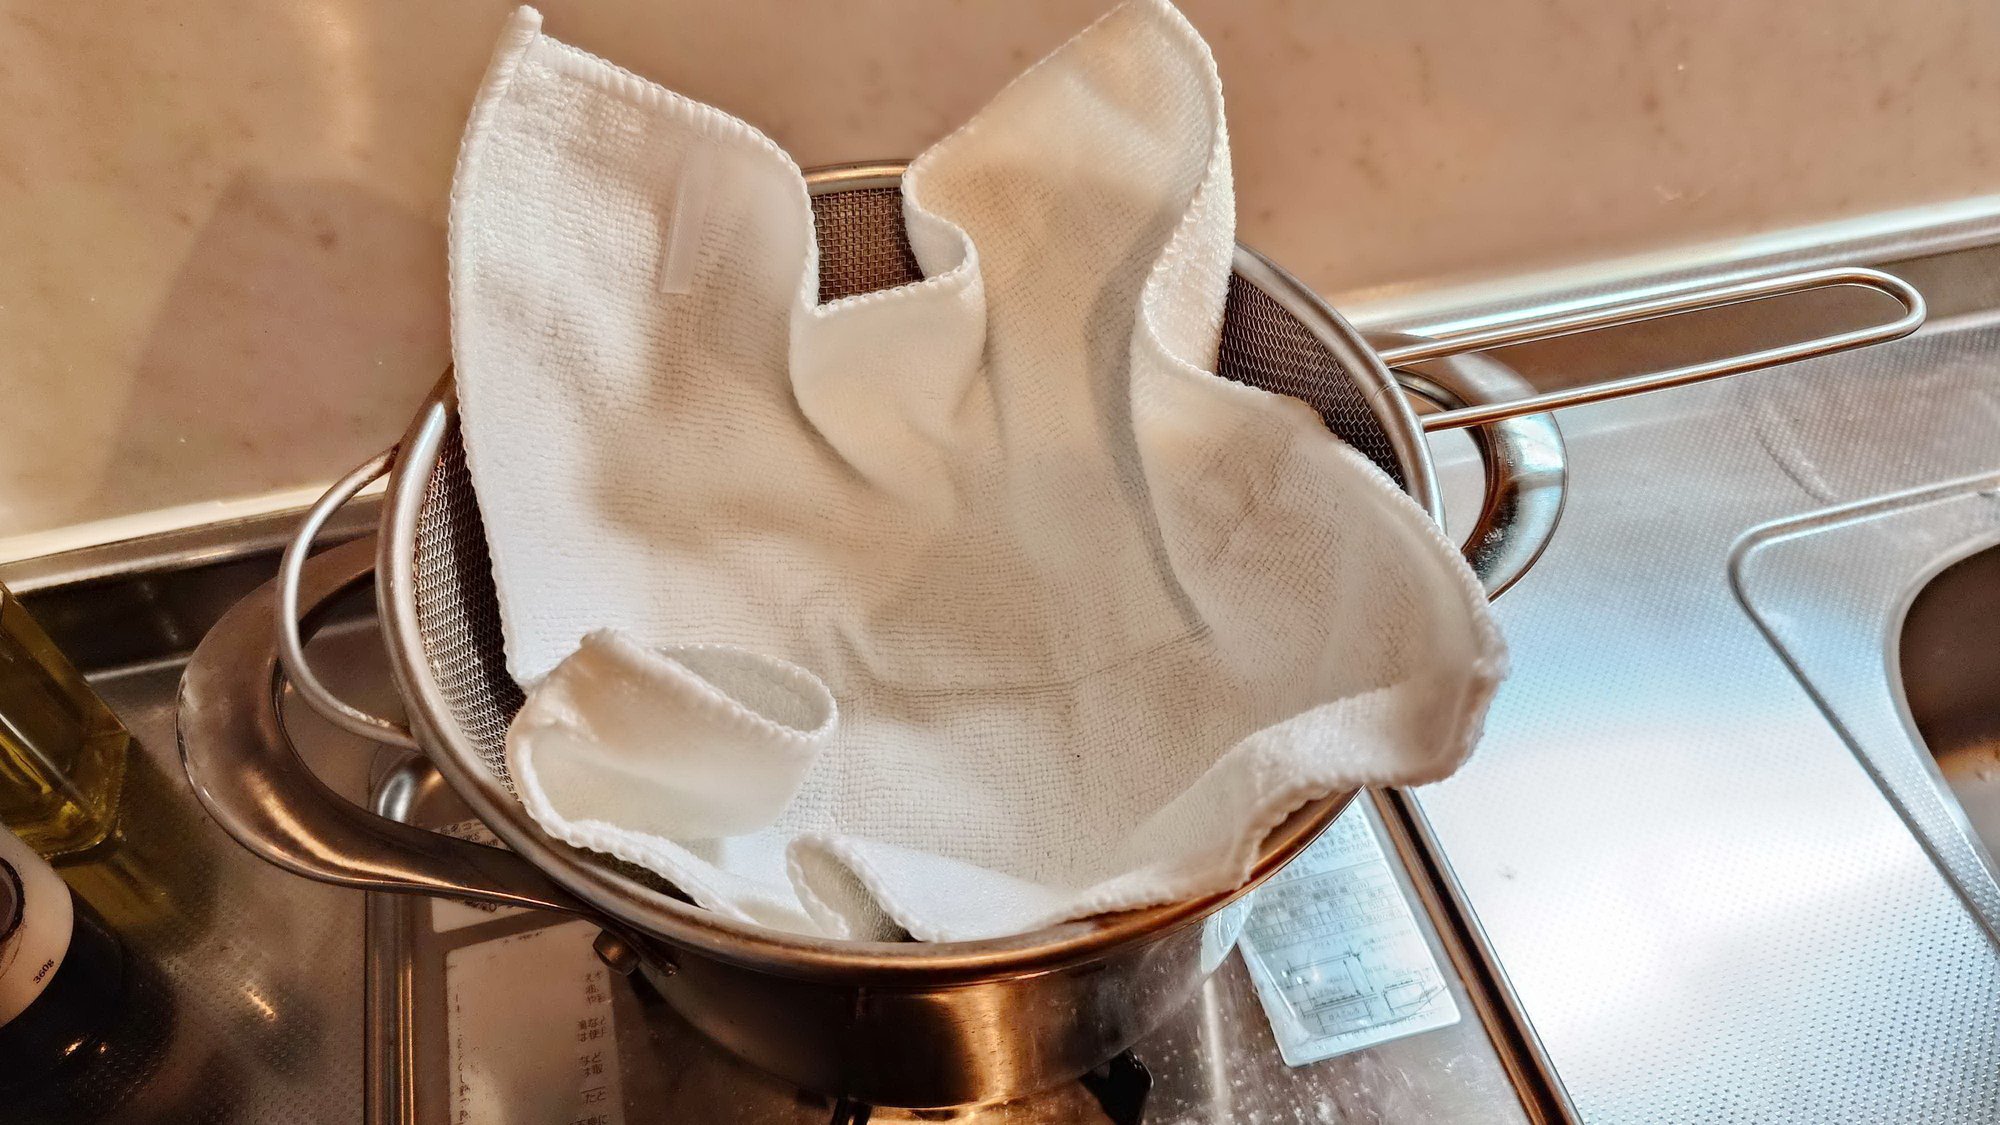
STEP 2: Filtration
How: Set up a strainer with cloth (e.g., towel), pour the settled water through it. If it’s not clear enough, repeat the process multiple times. After filtering 100 units of water, rinse the cloth using about 20 units of clean water to reuse it.
Why: To remove fine dirt particles and green algae as much as possible.
STEP 3: Disinfection
How: Add 2 drops of chlorine bleach to 10 liters of water and mix thoroughly.
Why: To disinfect bacteria and viruses using hypochlorous acid.
If the water was clear to begin with, STEP 3 alone may be sufficient.
Chlorine Bleach Dosage Guide (Estimates)
① 5L: 1 drop
② 10L: 2 drops
③ 20L: 4 drops
Bonus Items for Peace of Mind
① Dropper: Helps measure chlorine accurately. If not available, 1/5 teaspoon works. Can be found in 100-yen stores (e.g., calligraphy section) [Amazon]
② Coffee Dripper & Filter: Useful for removing finer particles. Both available at 100-yen shops [Amazon]
③ Pitcher-Type Water Purifier: Like BRITA. Doesn’t require electricity, cuts odor and chlorine taste. Around 3,500 yen with one cartridge [Amazon]
Additional Water Treatment Tips You Should Know
① Using sunlight: Placing water in PET bottles under sunlight allows UV rays to help volatilize chlorine and purify the water.
② Boiling: If bleach is not available, boiling can also disinfect bacteria and viruses. Make sure to boil for at least 3 minutes.
What About These Methods?
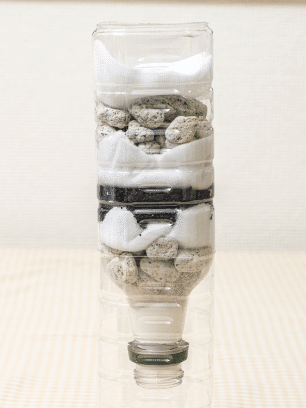
Some of you may have imagined this type of homemade filtering device when you saw the article title.
It’s not a bad idea, but we chose not to introduce it in this article for the following reasons:
① Filtering materials may add cloudiness, so pre-washing is necessary
If the gravel or sand used as filter media contains mud, it can cause further cloudiness. Cleaning it thoroughly beforehand takes time and effort.
② Regular cleaning is required, but it’s labor-intensive
When filtering murky water, residue will gradually build up inside the device. Removing that buildup can be tedious. Compared to this, using a strainer and towel is much easier. With kitchen paper, you can just replace it.
③ There’s a risk of injury when modifying PET bottles
If you’re not used to this kind of work, there’s a chance of getting injured. While a minor injury is manageable in normal times, in a disaster situation, lack of disinfectants could lead to infection — a risk we prefer to avoid.
Summary – Key Takeaways
- How to find water sources is covered in a separate article → “Even if you’ve stored emergency drinking water, what about showers? 5 Hidden Tricks to Survive 30 Days Without Tap Water” (¥500 premium article)
- The basic 3-piece set (container, cloth, bleach) is enough to make drinkable water
- Extra tools can improve taste and safety even further
- Next article: “Are membrane water purifiers actually useful during disasters?” Stay tuned!
Take 5 minutes tonight to share “where the bleach and bucket are stored” with your family.
Follow and share to help others prepare!
Additional Water Treatment Tips You Should Know
① Using sunlight: Placing water in PET bottles under sunlight allows UV rays to help volatilize chlorine and purify the water.
② Boiling: If bleach is not available, boiling can also disinfect bacteria and viruses. Make sure to boil for at least 3 minutes.
What About These Methods?
Some of you may have imagined this type of homemade filtering device when you saw the article title.
It’s not a bad idea, but we chose not to introduce it in this article for the following reasons:
① Filtering materials may add cloudiness, so pre-washing is necessary
If the gravel or sand used as filter media contains mud, it can cause further cloudiness. Cleaning it thoroughly beforehand takes time and effort.
② Regular cleaning is required, but it’s labor-intensive
When filtering murky water, residue will gradually build up inside the device. Removing that buildup can be tedious. Compared to this, using a strainer and towel is much easier. With kitchen paper, you can just replace it.
③ There’s a risk of injury when modifying PET bottles
If you’re not used to this kind of work, there’s a chance of getting injured. While a minor injury is manageable in normal times, in a disaster situation, lack of disinfectants could lead to infection — a risk we prefer to avoid.
Summary – Key Takeaways
- How to find water sources is covered in a separate article → “Even if you’ve stored emergency drinking water, what about showers? 5 Hidden Tricks to Survive 30 Days Without Tap Water” (¥500 premium article)
- The basic 3-piece set (container, cloth, bleach) is enough to make drinkable water
- Extra tools can improve taste and safety even further
- Next article: “Are membrane water purifiers actually useful during disasters?” Stay tuned!
Take 5 minutes tonight to share “where the bleach and bucket are stored” with your family.
Follow and share to help others prepare!